This may not be you … but there are a few of us who look at the calendar and realise with a big shock that a significant day like Father’s Day is only a day or two away. Oh damn! How on earth are you meant to find a nice, meaningful gift in time, and make sure it doesn’t look like you completely forgot and got the first semi-appropriate gift you could find? It can be tough, and no one wants to be in that embarrassing and awkward situation so don’t worry! I have a solution for you.
I’ve always loved craft projects and handmade gifts. I suppose it goes with the notion that it’s the thought that counts, and what greater way to show how much you care for a person than putting the time and effort to make a gift for them from scratch. Handmade gifts are usually far more personal (duh because you have to make them specifically instead of just buying a bulk made product from a store) but they also illustrate how much effort you are willing to put into the person on the receiving end. So, as you might guess, most of the gifts I give have got a handmade element. Sometimes, due to time constrictions, it’s just a card, but sometimes I go a bit nuts and do the whole gift myself. For example, I’ve made bath products for my friends at Christmas, scrapbooks and other romantic presents for my boyfriend and a few more fun things along the way. That’s why, today, I thought I’d share a quick and easy DIY gift tutorial that you can whip out for Father’s Day (or any other day for that matter). Not only is it fast and simple, but it is also super cute and personal so it won’t look like a last-minute attempt. Today I’ll be walking you through the steps to make your own personalised Sharpie mug!! I hope you enjoy it 😊

What you’ll need:
- A plain white mug (cheap/inexpensive ones from grocery stores tend to work the best because the glaze on the outside is cheaper and therefore weaker, so your design will last longer)
- Sharpies, whichever colours you want*
- Rubbing alcohol (or nail polish remover)
- Cotton wool/cotton balls
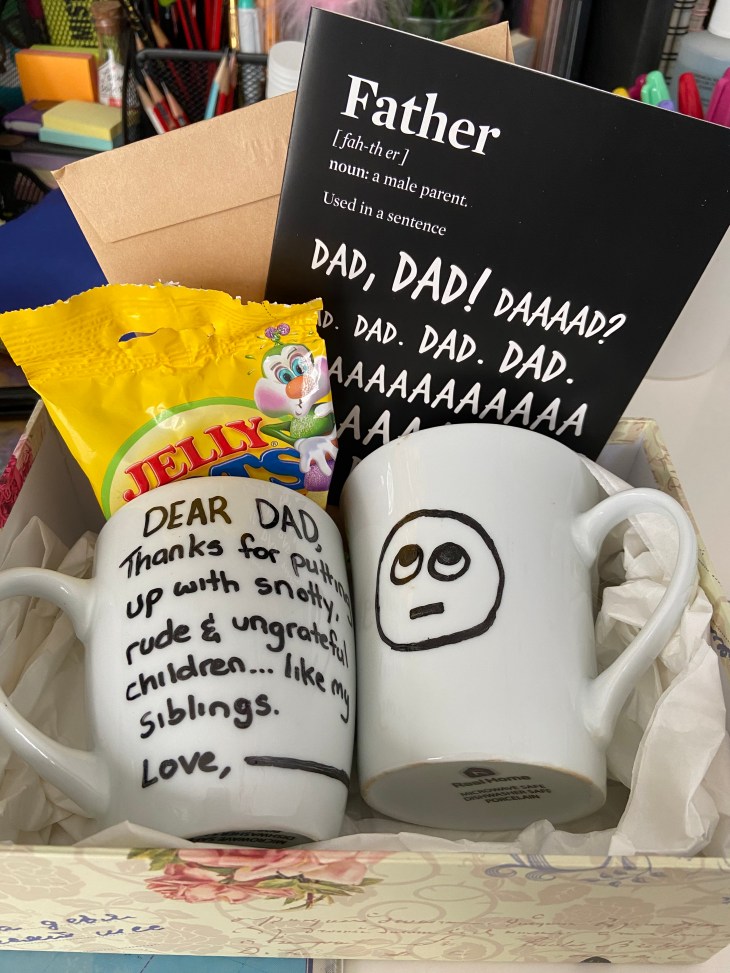
- Something fun to put inside
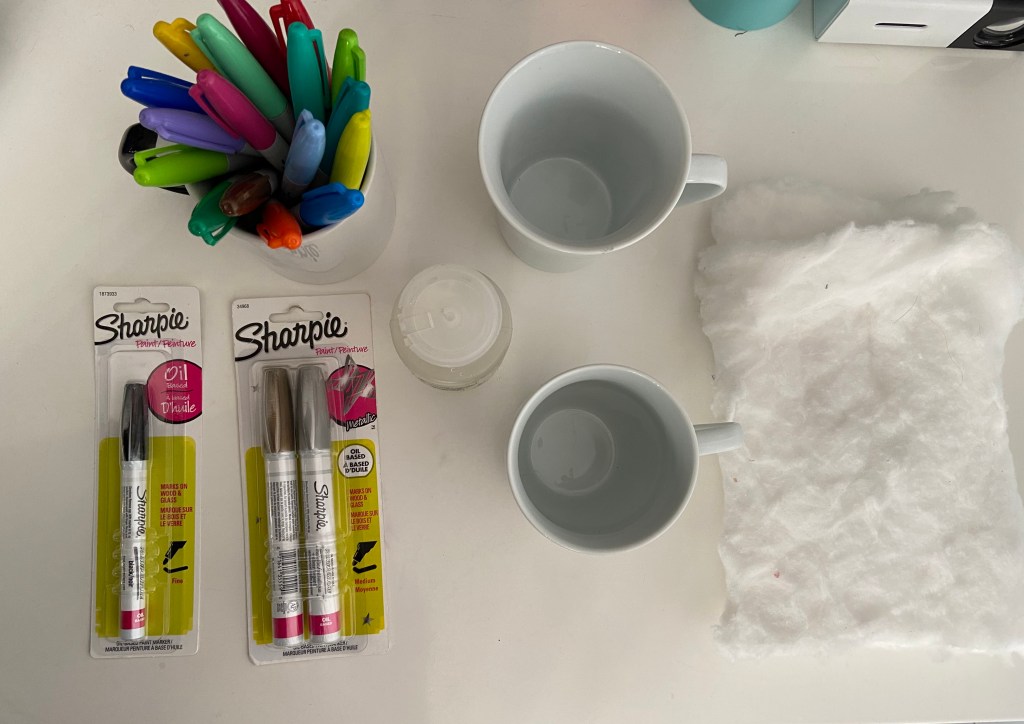
*A note about your sharpies – the best ones to use for this project are oil-based sharpies (or paint markers) because the oil in the markers will mean your design is less likely to wash away when it’s washed. If you can’t find oil-based sharpies, then regular sharpies are fine! I’d just recommend drawing your design on twice and double baking your mug (and please don’t be too sad if the design starts to fade after a few washes).

How to make the magic happen
So making these DIY sharpie mugs is far easier than you think – even if the best thing you can draw is a stick figure. Plus, what’s super great about these is that if you make a mistake, you can erase it and try again and again until you’re 100% satisfied with your design. How fantastic does that sound?
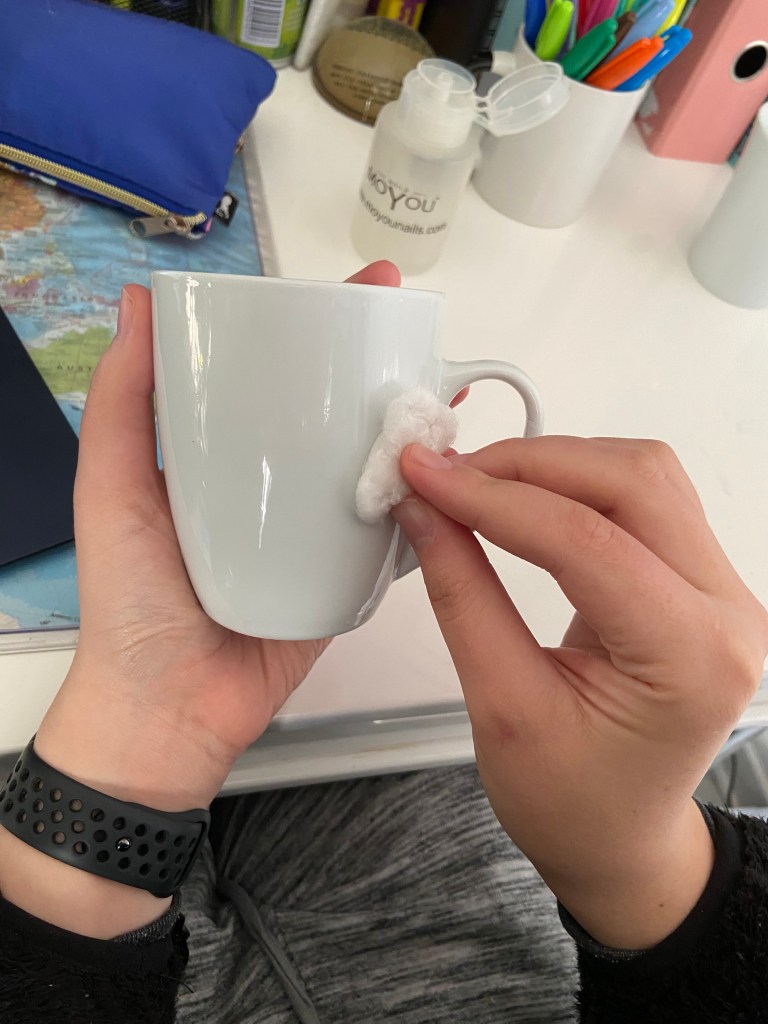
Right, so first things first, you want to make sure that your mug is nice and clean. Use the rubbing alcohol (or nail polish remover, because that works just as well when I’ve used it) and cotton wool to clean anything icky off the outside of your mug. Also make sure to remove all prices and stickers, otherwise they will burn when you bake the mug.
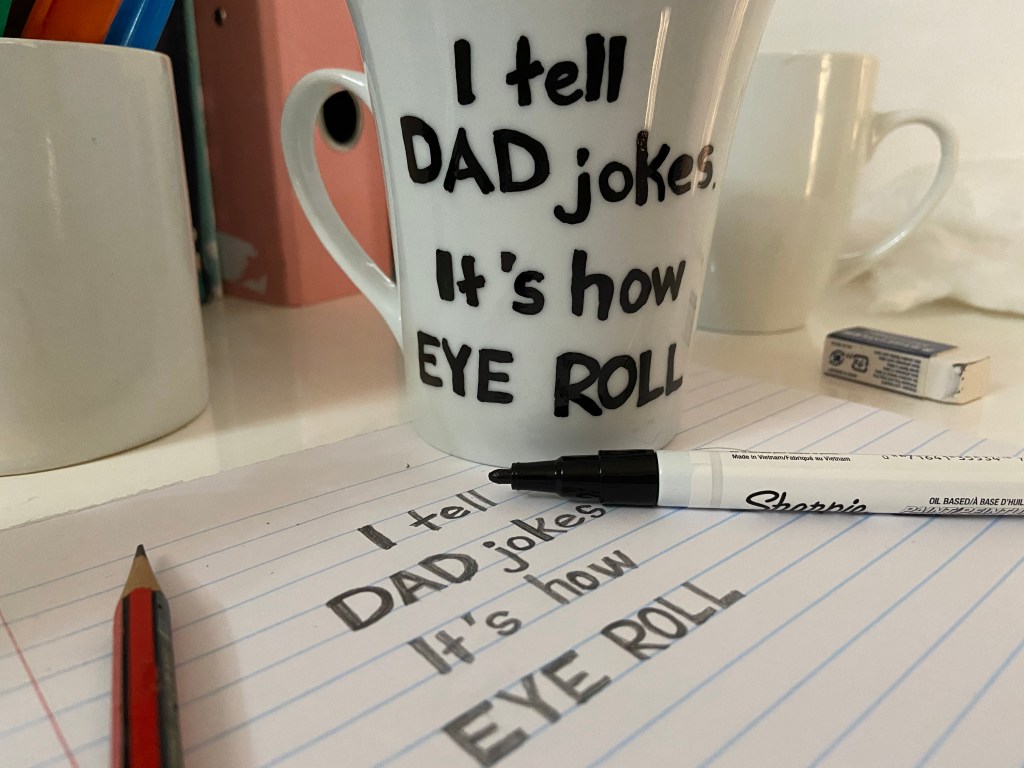
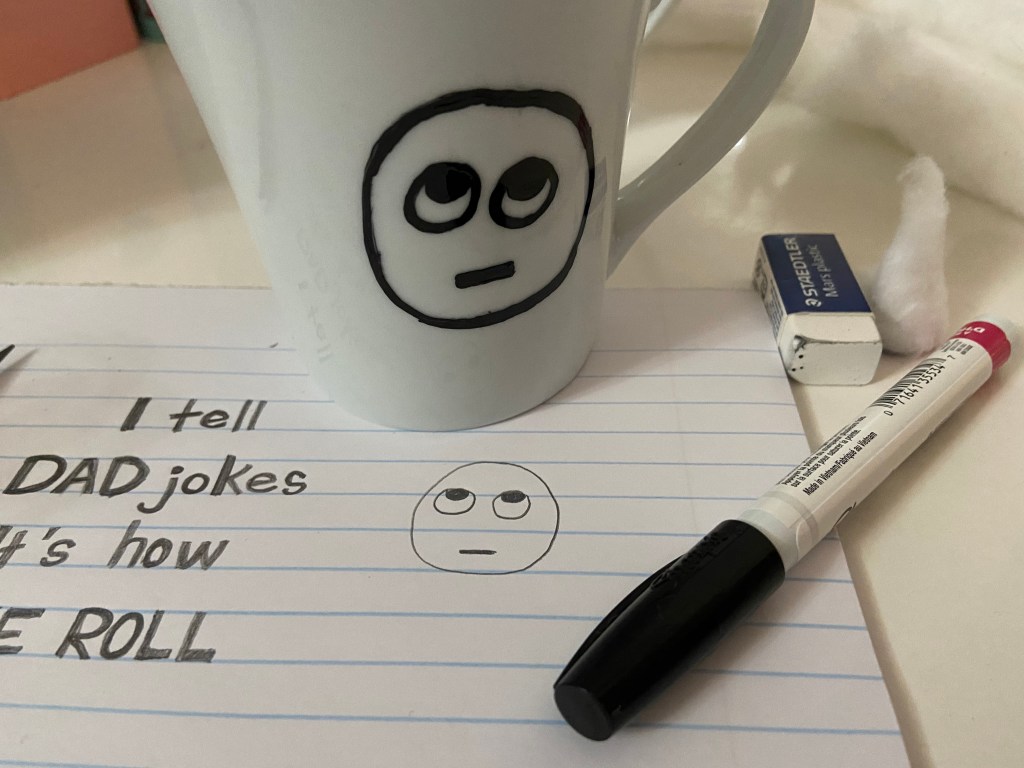
Next, decided on your design. I’d highly recommend sketching it out for practice on a piece of scrap paper and working on it there until you’re happy with it. When you’re satisfied with the look, you’re ready to transfer it to your mug in sharpie.

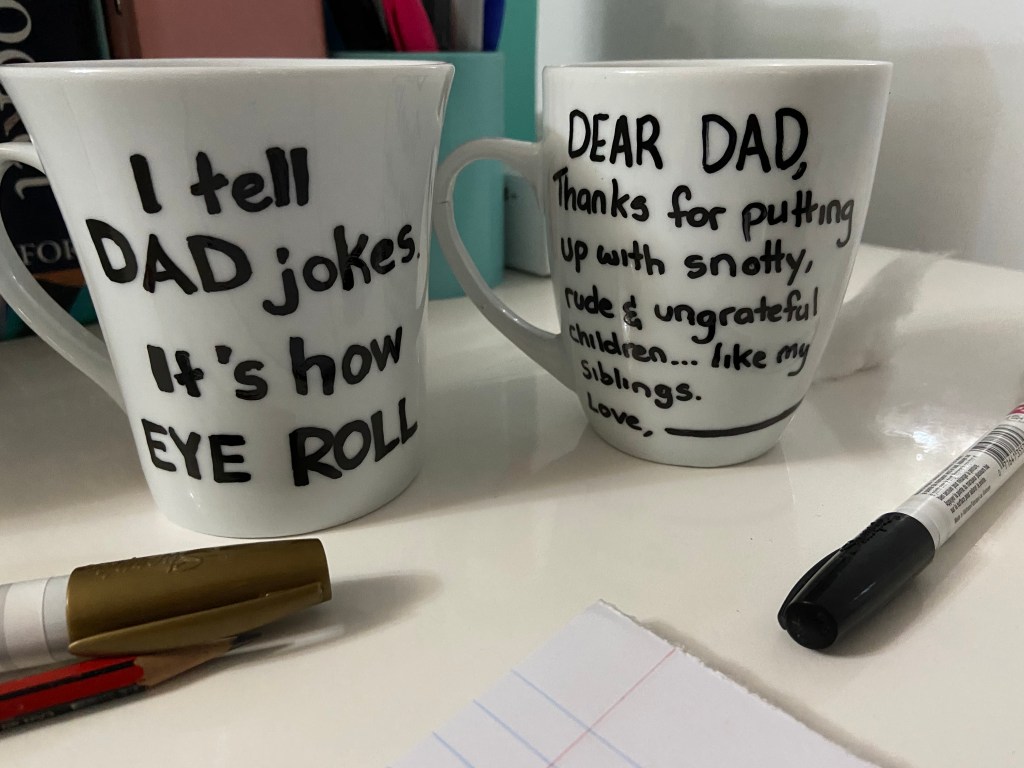
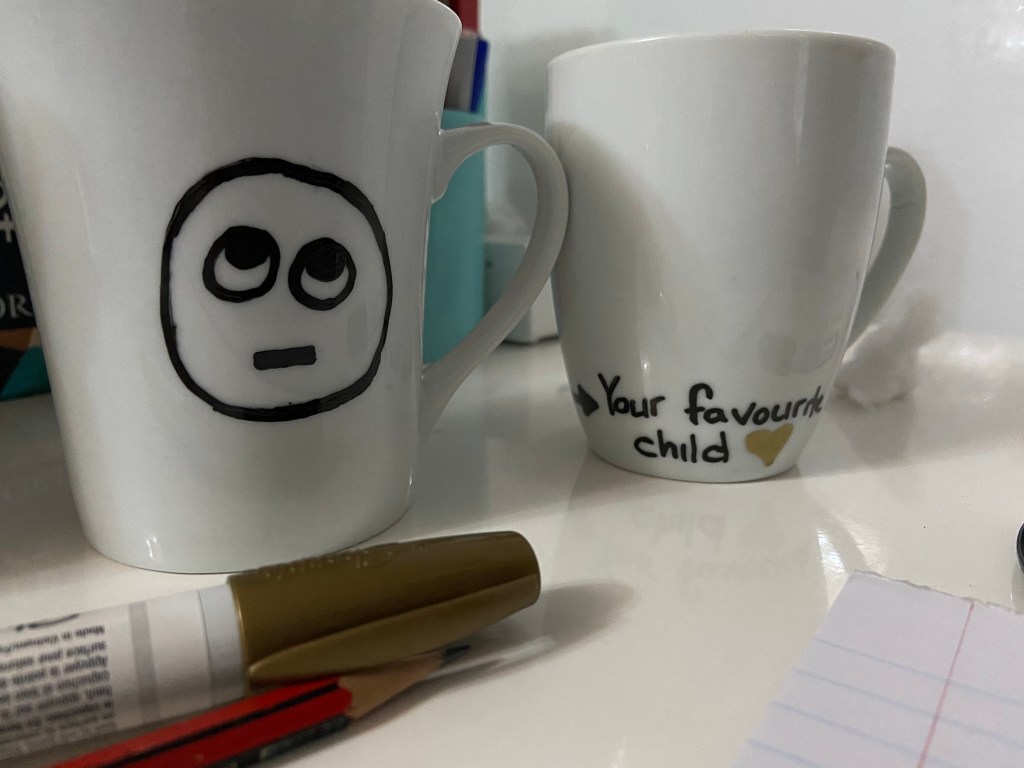
The next step is, you guessed it, drawing your design onto your mug. If you make a mistake or aren’t happy with something, remember that you can get rid of the evidence with your rubbing alcohol so don’t stress. Just be sure to fully remove any excess or unwanted marks because if you don’t it will bake on and look all smudgy. After you decide you’re satisfied with the look, leave your mug to dry. If you’re in a big rush, for example you need the mug for Father’s Day tomorrow, you can get away with leaving it to dry for a few hours. For best results though, I’d suggest leaving it to dry for three days. If you want, you can always draw over it again, but be sure to then let it dry out properly again.
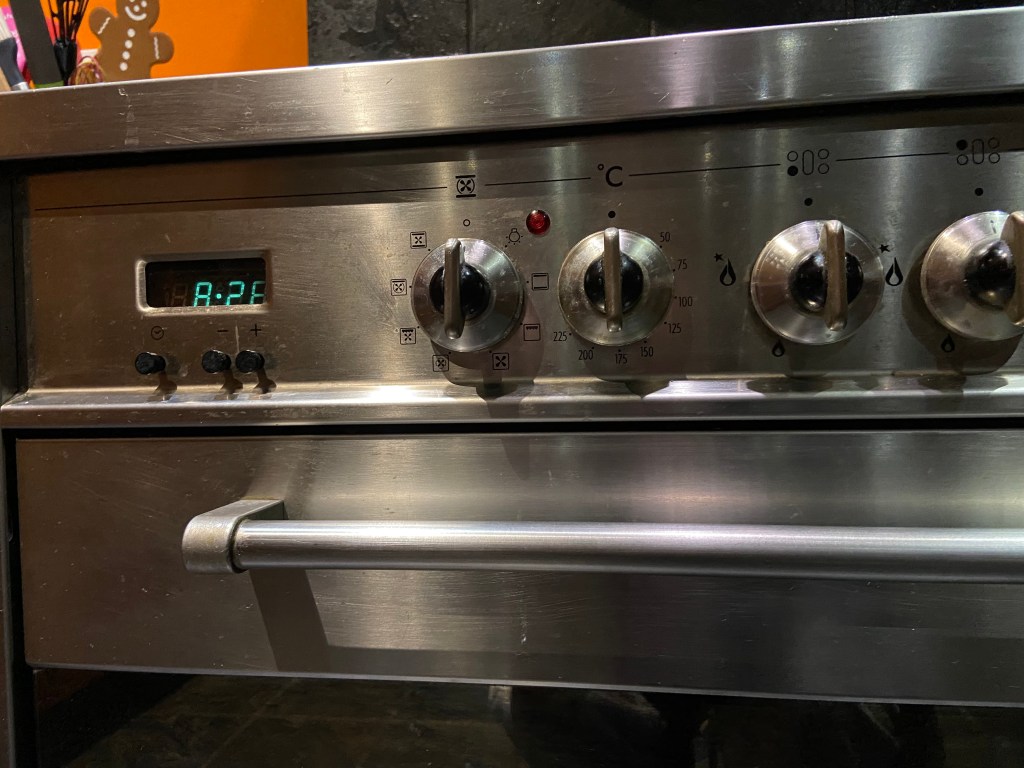
Last but not least, it’s time for baking. Be sure to place the mug in the oven before it heats up, and then leave it in until the oven cools completely – this helps prevents cracks. Bake the mug for 30 minutes at 180 degrees C (or 350 F), switch the oven off and then leave it to cool completely.
When that’s done, your mug is ready for gifting. Congratulations! Place your little gifts, chocolates always work, inside and maybe tie a ribbon around it and present it to the recipient with a smile. 😊
*Just a note, be careful when it comes to washing your mugs. While I could say that it should be safe to put in a dishwasher, I honestly don’t know because all mugs and dishwashers are different. So, just to make sure all your hard work doesn’t get washed away after only one-use, I’d suggest keeping the washing of this mug to hand-washing. Better safe than sorry right?
And ta-da! You just made a DIY mug that will likely become a prized possession for the person you give it to. Nothing says love like a personalised mug, right? And this is one you even made yourself! I hope you all enjoyed this blog post, and if you made the craft that it came out well! Other than that, I don’t have much else for you today except to wish you all a fantastic weekend. Please stay safe and healthy, and I hope you and all the fathers/father-figures in your life have an amazing day tomorrow. Please let me know your thoughts in the comments section, and if you made any interesting crafts for Father’s Day … LET ME KNOW! I’d love to see what you’ve made (if it’s not too personal). Also, if you’re keen to do a guest post on Tall Blonde Tales or have some fun ideas for content that you’d like to see … Please let me know xx
Lots of Love
Blondey on a Mission xxx


Love these Father’s Day gifts ideas. I also got my dad a personalized mug for Father’s Day xx
LikeLiked by 1 person
Thanks so much! I’m sure your dad will love it xx
LikeLike
You got me at the first line!😂 I always mark important days in my calendar( like birthdays and other events) but it’s always a few days before that I remember and I’m in a rush to find something!
Homemade gifts are much more thoughtful and personal and if I can, I also try to make homemade gifts( twins again girl 😂). Mugs are always a good idea and especially for my dad because he’s a coffee addict😊Thanks for this craft and happy Father’s Day to your father or father figure in your life!❤️
LikeLiked by 1 person
Yayyy haha! Twinning again, I can’t believe it! I’m really glad you liked it and thanks for reading so I hope this craft comes in useful for you someday xxx Thank you also for the wishes and I hope you and your father/father figure had a fantastic day as well xxx
LikeLiked by 1 person
I’m not sure my handwriting would ever be good enough for this. My writing looks like a dying spider.
LikeLiked by 2 people
Awww nooo what a description. It’s the thought that counts though and I’m sure your hand writing isn’t that bad 🙂
LikeLike
It really is. Over 25 years of typing has seen to that.
LikeLiked by 2 people
Well then … you can still get personalised mugs in stores 🙂
LikeLiked by 1 person
Cool ideas
LikeLiked by 2 people
Thank you and thank you for reading
LikeLike
This is sooo cute. I’m sure he was more than happy to see his presents. Even though everyday should be a father’s day, it’s good to do that little bit extra effort to show him that you truly care.
I made a DIY card for him. He was overwhelmed by it. Wish I could give it to him in person, but for the time being video calls are working… hehe…
LikeLiked by 2 people
He loved them. I completely agree every day should be father’s day but these special days to just show a little extra love is also good. Wow I’m sure he loved your card! I’m sorry you couldn’t give it in person but at least we have technology to see us through these tough times right?
LikeLiked by 1 person
Creative!
LikeLiked by 1 person
Thank you and thanks for reading!
LikeLiked by 1 person